How to Build a Pottery Barn-Style Headboard for a Queen-sized Bed
Ever had the desire to put a nice, rustic and traditional-looking headboard on your bead? Well you can do this fairly easily by getting a few things together. Follow the cut list ahead for the parts you need. You may also want to make a bed of the same materials, unless you plan on having the headboard mounted on the wall instead. To begin, you will need the following materials and planks:
Stuff Required
2 4×4’s at 54 inches
2 1×4’s at 57 inches for the trim that goes across the bottom and top parts
6 1×4’s at 32 inches
4 1×6’s at 32 inches
2 1x8s at 32 inches
The top trim pieces need to be fitted after you have finished constructing the headboard. Keep in mind that the measurements provided are approximate:
1 2×4 at 64 ½ inches for the trim under the top piece
1 2×6 at 66 ½ inches for the trim top piece
The headboard dimensions are 57 inches tall by 66 ½ inches wide, so it is essentially meant for a queen-sized bed frame to fit. If you need to install it on a smaller-sized bed, you should recalculate the values accordingly.
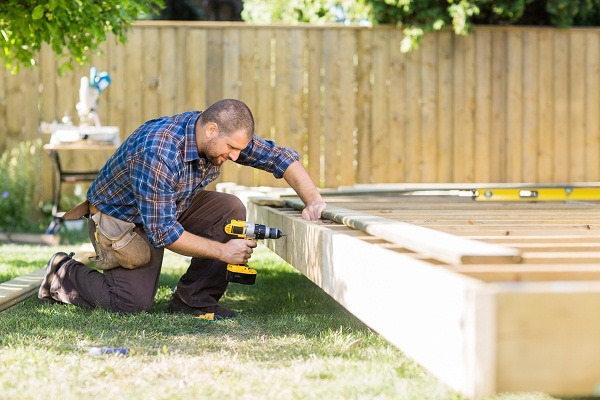
Build Pottery Barn Style Headboard
Construction phase:
Construct the planked panels by using pocket holes on the long side of each plank, just make sure you drill pocket holes in the end pieces so you can attach them to the legs themselves. Line up the planks as you see fit, working your way toward assembly. Clamp each of the joints as you screw them together to make things work faster.
Attach the horizontal trim pieces to the front of your planks with some 1 ¼ inch finish nails or you can use some glue and screws. You may want to do this from the back so you won’t have to patch any nail holes when you’re done.

How to Build a Pottery Barn Style Headboard for a Queen-sized Bed
Attach the panel to the legs and make sure you have the top of the legs flush with the top of the panel itself, using the previously made pocket holes. You can use any one of the 1x planks to space the panel up front. Clamp the boards before you screw them together.
Measure and attach the first top trim pieces with glue and some 3 inch screws.
Measure the top trim piece and make sure it happens to be two inches longer than the width of the headboard itself. Attach it using 3 inch screws and glue from the top, leaving a one inch overhang on all sides.
When all else is done you should fill in the holes, sand it and finish it as you see fit. You can even use a stain to give it a nice, aged look if you feel like it.
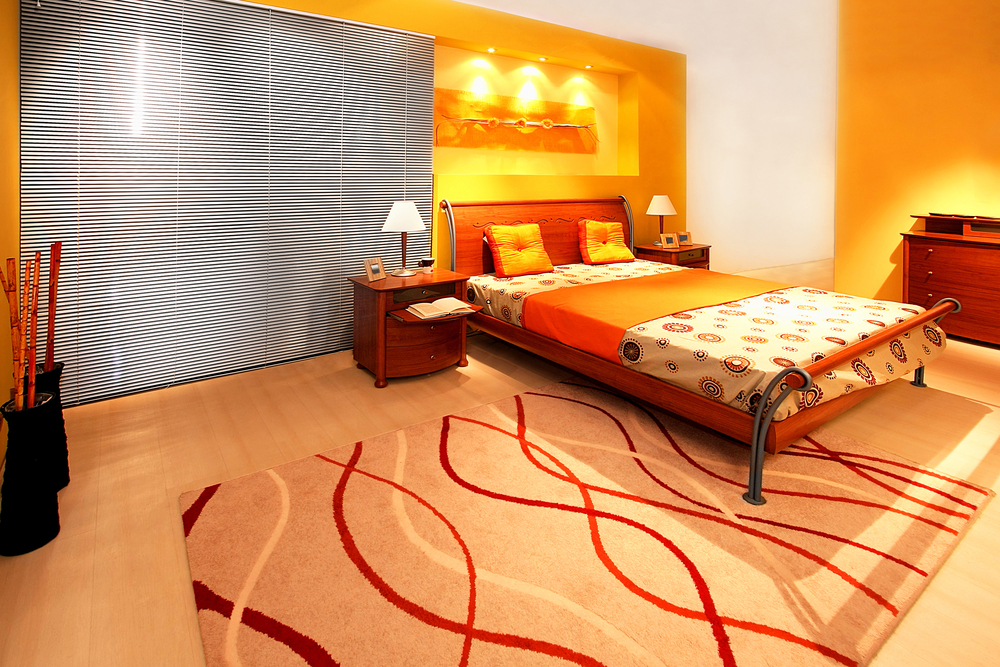
Pottery Barn Style Headboard for a Queen-sized Bed
Wimbledon carpentry services can help all your refurbishment and construction projects.


Comments are closed.