PVC Laptop Stand – DIY Ideas
Does your laptop need a little boost? I’ve found a cheap, easy, and fun way to create a custom PVC laptop stand using just a few basic PVC parts. I’ve seen various pictures of PVC laptop stands people have made across the internet for a while now, but I haven’t been able to find a good tutorial on how to go about making my own. After some intensive measuring and trial and error, I was able to create a great little PVC laptop stand that does the job and looks sharp, too. Check out my how-to video and article for details on how to make your own PVC laptop stand.
Stuff Required:
Cut PVC and Fittings
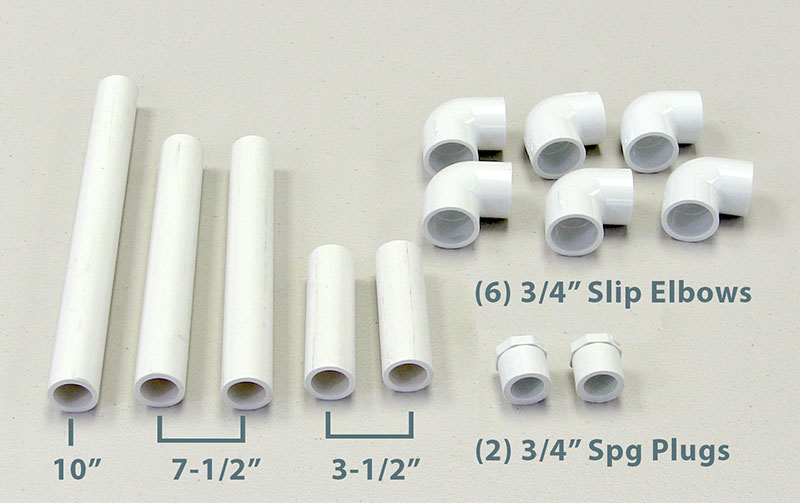
Materials Needed for Stand to fit 13” MacBook:
- 3 ft. ¾” schedule 40 PVC pipe
- (6) ¾” Slip PVC Elbows
- (2) ¾” Spigot PVC Plugs
- Saw or PVC Cutters
- Tape Measure
- Pencil
- Spray Paint
Materials list explained…
PVC Fittings
Schedule 40 – This project calls for schedule 40 PVC pipe. This is just the standard white PVC pipe you can find online or at your local hardware store. The schedule just refers to the thickness of the pipe. Typically, different PVC thicknesses are denoted by a different pipe color.
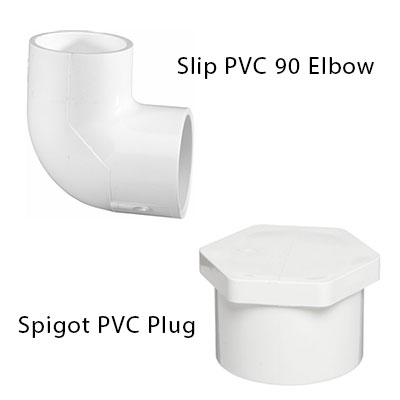
Slip PVC Elbow – A slip fitting is simply a PVC connector that “slips” over the end of a piece of pipe. There is no turning or screwing necessary. When used in plumbing, these parts are glued into place. A slip elbow is a fitting with slip ends that has a 90 degree bend in it.
Spigot PVC Plug – A spigot fitting is similar to a slip fitting except that the fitting slips inside another fitting. A spigot plug is just an end piece that slides inside a fitting to close off the pipe line.
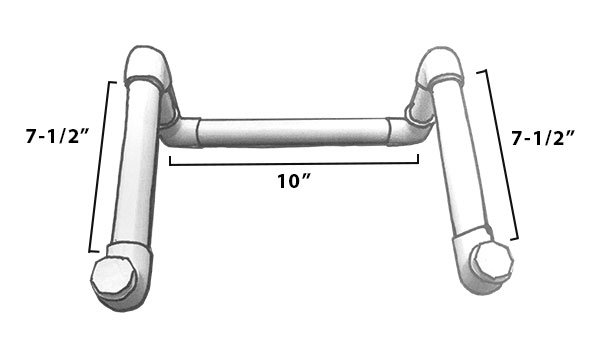
PVC Stand Diagram
You’ll see that my materials list calls for 3 feet of pipe. This is the length I found I needed to accommodate my laptop which is a 13” MacBook. I also tried it out on my 15.6” Lenovo E530 and it fit fine. If you’d like to customize the dimensions, I’ve found a good way to estimate the length of pipe you need for your computer is to measure the length and width of the laptop and then subtract about 3” from each. You will need one longer piece of PVC (the length of your laptop minus 3”) and two shorter lengths (the width of your laptop minus 3”). Check out the diagram for a visual. The 3-1/2” lengths should work for any laptop size, but if you want your stand to sit higher or lower, that length can be adjusted as well. Note that when you fit your pipe into the fittings an extra couple of inches will be added to the length.
Procedure:
Step One: Measure Your PVC Pipe
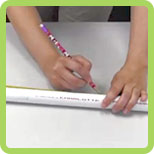
Step 1 – Measure
Now that you have all your materials together you can start building your stand. Step one is measuring out the lengths of PVC you will need. If you are following my plan that means you will have one 10” piece, two 7-1/2” pieces, and two 3-1/2” pieces. I always measure and cut from largest to smallest piece to use my pipe as economically as possible. A simple pencil mark will work for denoting where you need to cut. You’ll notice my stand can be made with a little less than 3 feet of PVC pipe, but pipe is generally sold by foot, if not by 10 or 20 foot. The extra length will also give me a buffer in case I botch a measurement or cut.
Step Two: Make Your Cuts
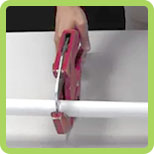
Step 2 – Cut
There are various tools you can use to cut PVC pipe. Some are undoubtedly better than others. You’ll see in my video I am using a pair of heavy duty PVC cutters. This tool is invaluable if you plan on cutting large amounts of PVC, but for a weekend project it isn’t absolutely necessary. PVC pipe can be cut with a simple hand saw. It just takes a little more elbow grease. If you’re using a saw, it’s a good idea to sand down any jagged pipe edges a bit before assembling your stand. This will help your pieces fit together better.
Step 3: Fit it All Together

Step 3 – Fit
Now comes the fun part – fitting the pieces together. There’s no right or wrong way to do this. I started with the longest piece and worked out from there. Once you are sure your fittings are on correctly and turned in the direction you want them, you can really give them a good press. These fittings are meant to be used with PVC cement, so pushing them in dry requires a little work. Push the pipe into each fitting until it doesn’t budge anymore. This will ensure your stand is even and stays in one piece. The two spigot plugs should fit into your open elbow fittings. Push them down till the tops are flush against the top of the elbows. These will give the stand a more finished look. When you’re done fitting the stand together, place it on a table and try it out. Your computer should rest in it nicely. This is your opportunity to take it apart and adjust the pipe lengths if needed. If you are happy with the fit, it’s time to decorate PVC laptop stand!
Step 4: Add Some Paint

Step 4 – Spray Paint
To give my stand a more finished look I chose to give it a few coats of green apple spray paint. I always try to use paint that is specially formulated to adhere to rigid plastics. It gives a nice even coverage, and sticks to the smooth PVC really well. You can find this paint at your local hardware store next to the standard spray paint. Always apply your paint in a well-ventilated area. I found it was easiest to take a big shallow box outside and place the stand inside. This gave me a great little space to spray away without leaving crazy patterns in the grass. It took a few coats to get the coverage I wanted, but the result was awesome.
Last: Enjoy!

Step 5 – Enjoy PVC Laptop Stand
Check out my pictures and video for the end result. The PVC laptop stand fits my computer like a glove and looks surprisingly polished. I’d recommend this project for anyone with a few bucks and an afternoon to spare. It’s fun and easy, plus you end up with a great looking laptop stand.
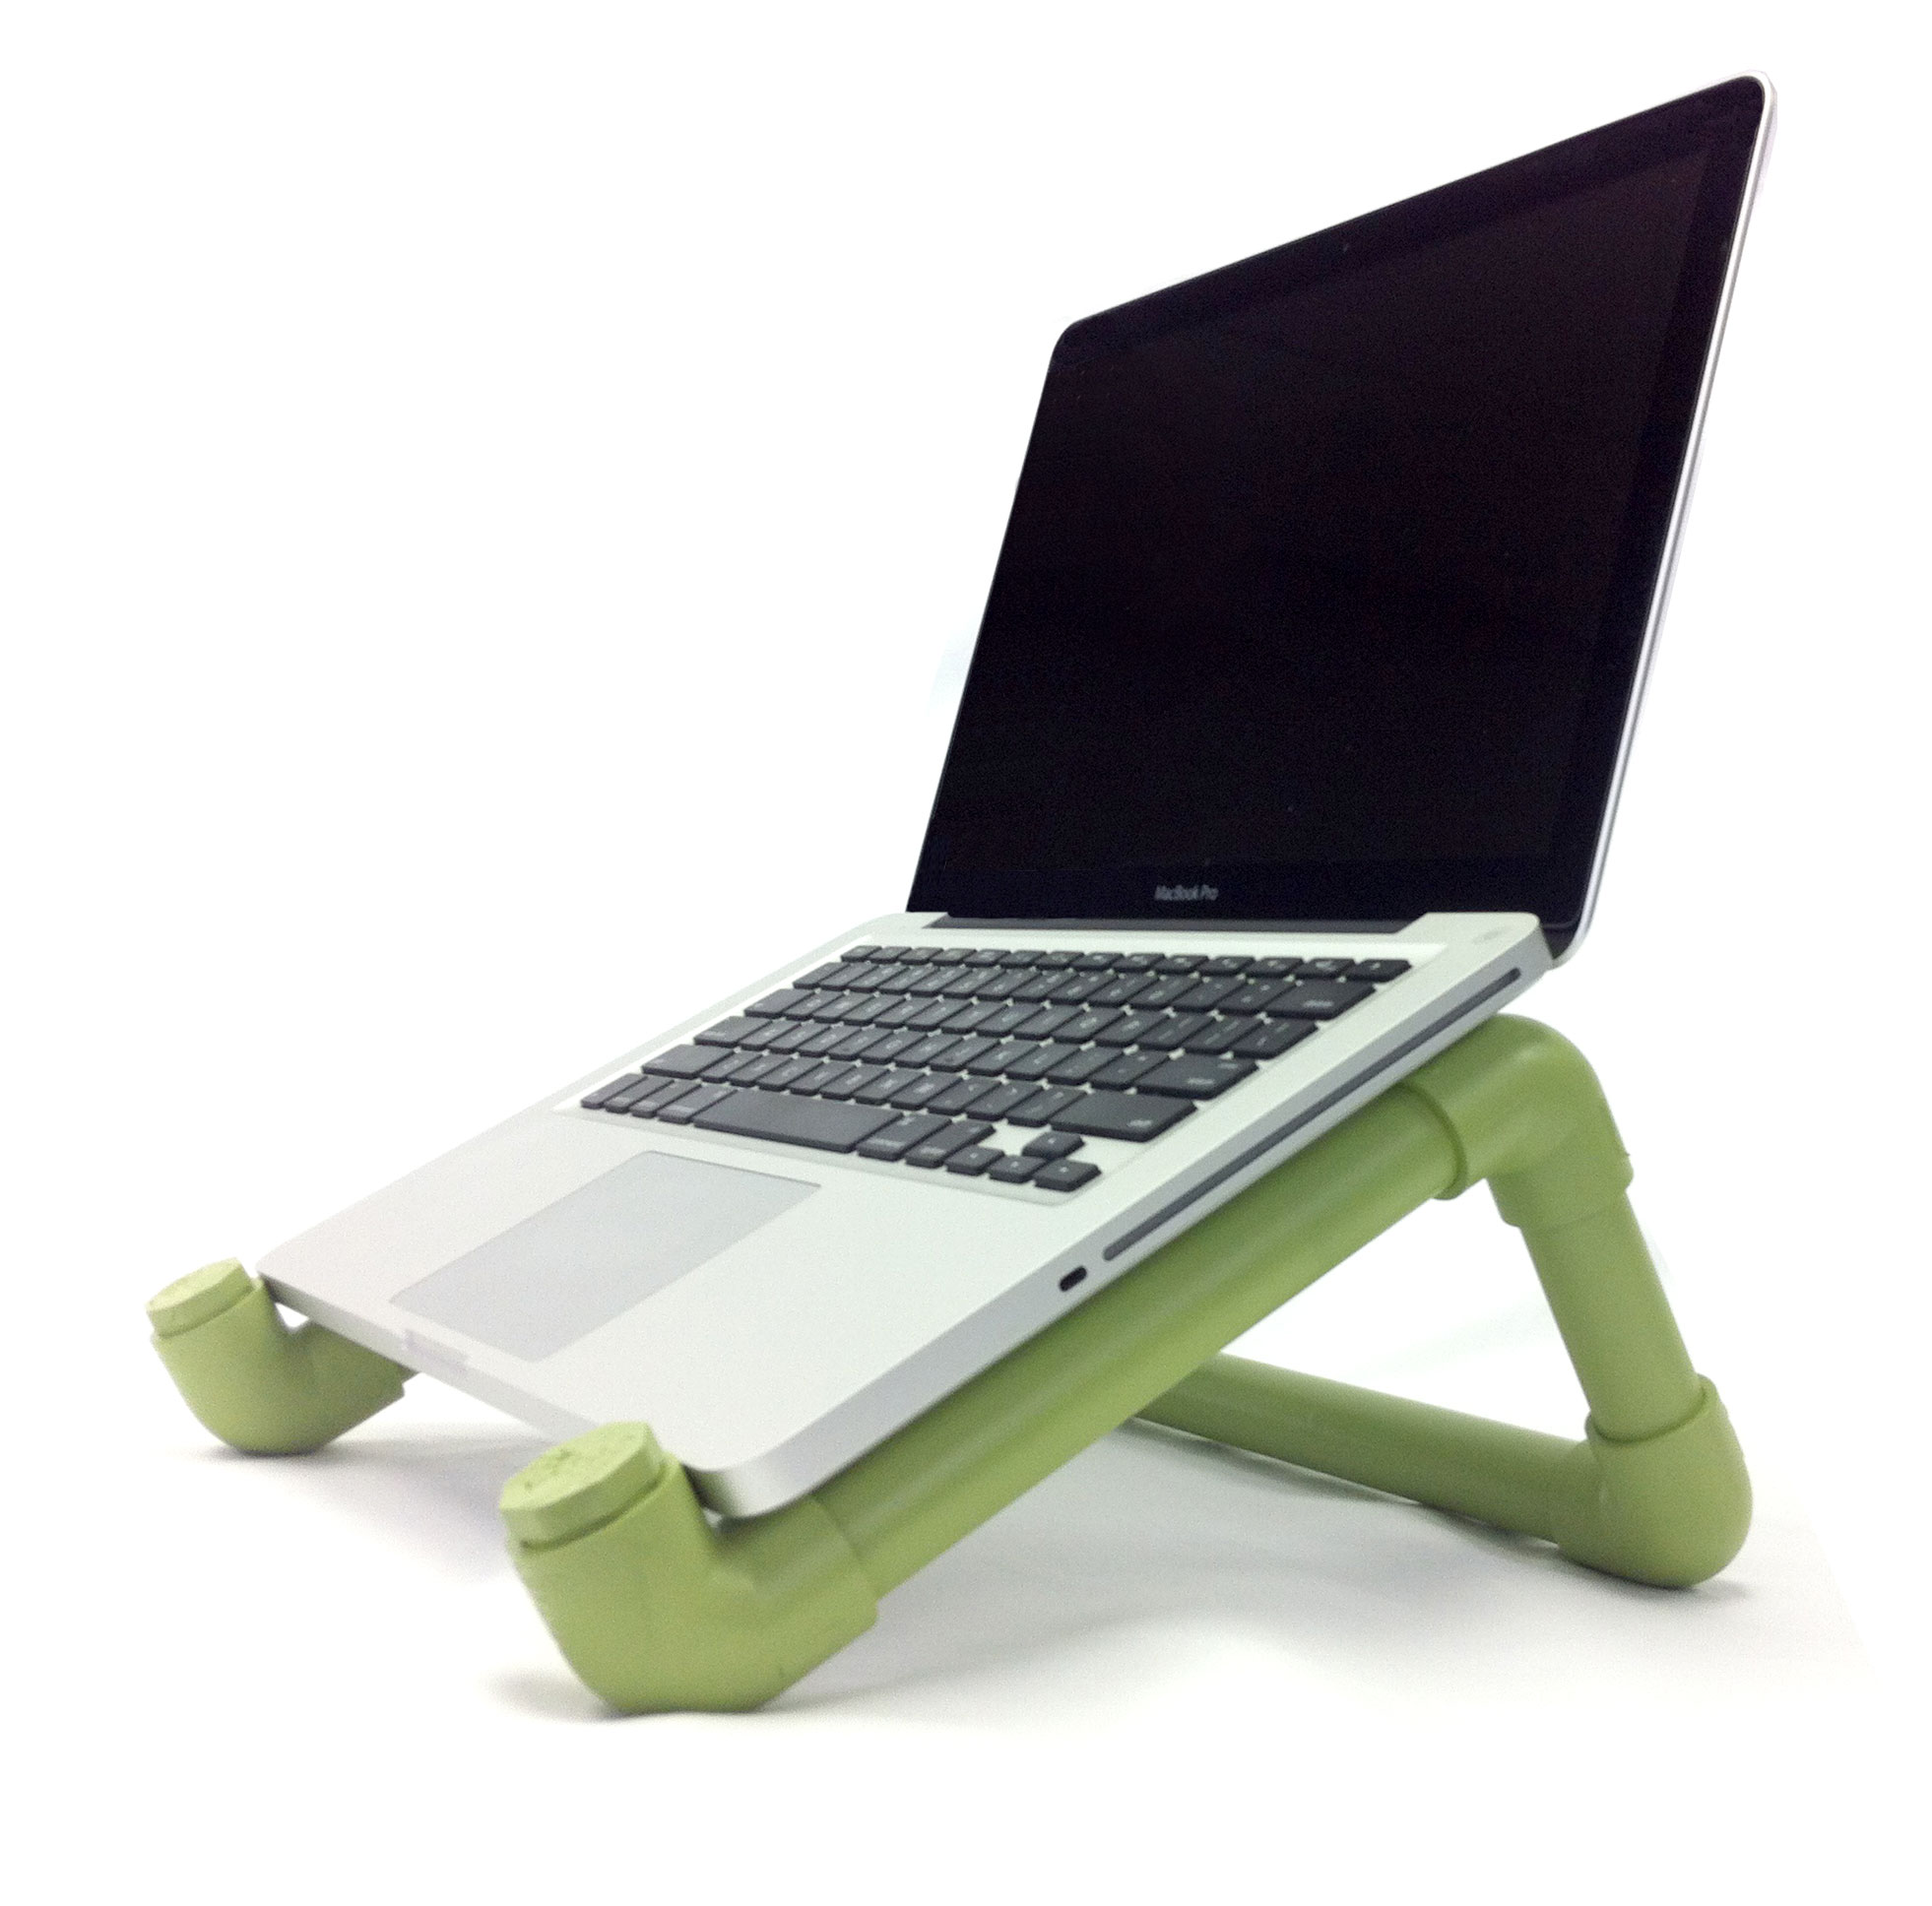
PVC Computer Stand 1
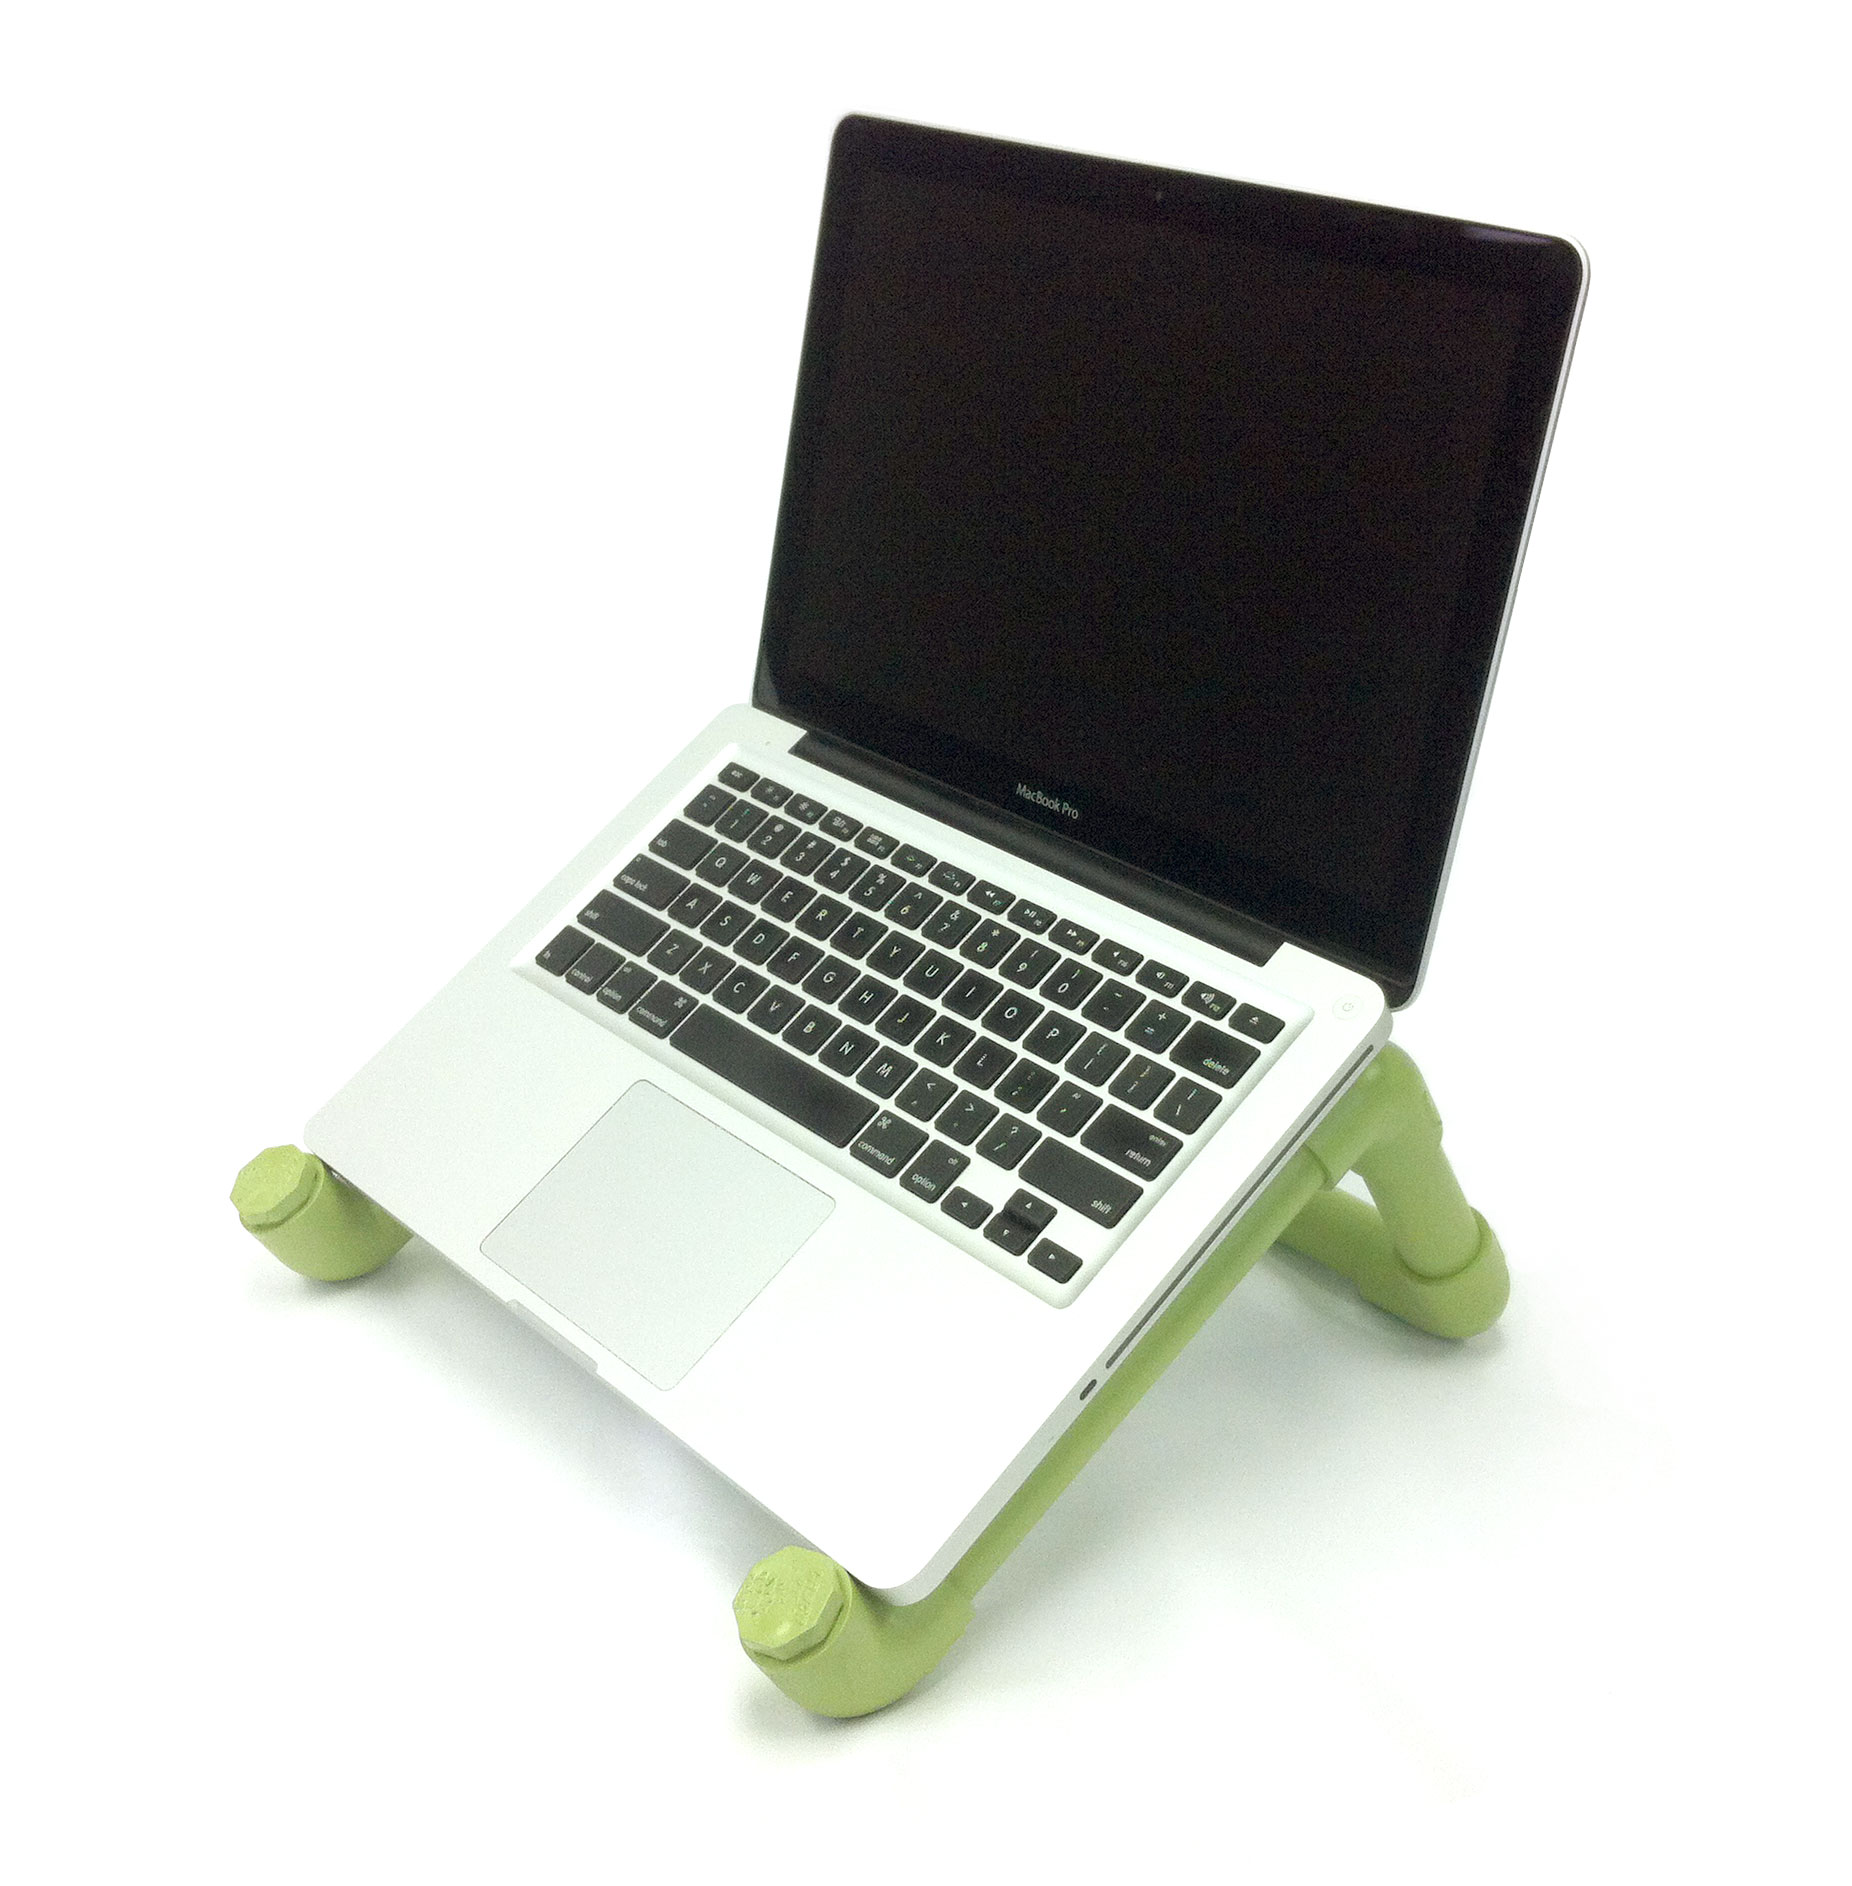
PVC Computer Stand 2
How to Video: DIY PVC Laptop Stand

Have comments or questions? Post them here! I’d love to hear from others who are working on PVC projects of their own or have made PVC laptop stand with an altered design.


Comments are closed.