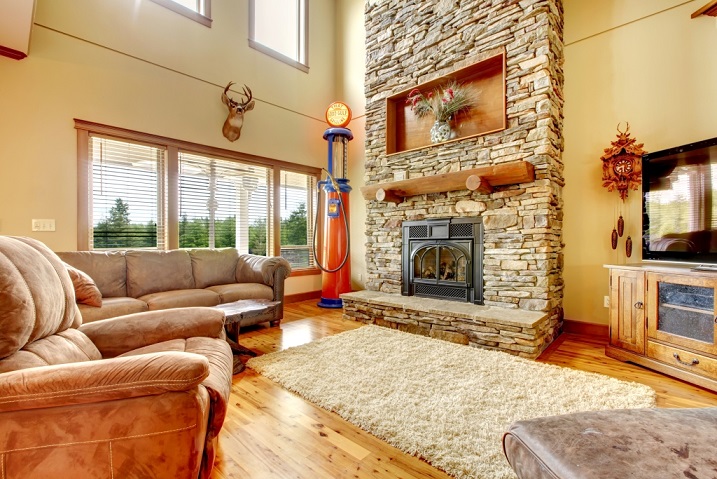
7 Easy Steps to Get a Stone Veneer Fireplace
Installing a stone veneer to your fireplace is a great way to add life and color to the living room. If you’ve always been pining over the beautiful masonry in interior design magazines, then maybe it’s time to take the old-fashioned stone veneer style into your own home. The best part? You can do all of it the DIY way.
First, let’s see what we need for this project:
Materials
- Stones
- Mortar
- Spatula
- Trowel
- Joint tool
- Drop cloth
- Grout
- Masonry saw
- Measuring tape
How to Install Stone Veneer to Your Fireplace
Step 1: Determine the amount of stone you need
Before you head out to the store to buy the materials you need, you must first calculate the amount of stones required. You can do this by getting the square footage of your fireplace.
Determine the square footage of your fireplace by measuring the height and width of the area you wish to cover with stone veneer. Then, multiply these numbers together to get the total surface area in square feet.
Adjust your measurements by deducting the square footage of the fireplace itself, because you won’t be needing to cover that with stone. Once you’ve got all the measurements right, head out to the store and buy what you need.
Step 2: Prepare the surface
Fireplaces in masonry-ready surfaces such as concrete and stucco shall be cleared of dirt, debris, and paint. You can either strip the surface of paint or sand it down to remove the paint. Then, make sure the wall is clean and free from oil or dirt before beginning stone veneer installation.
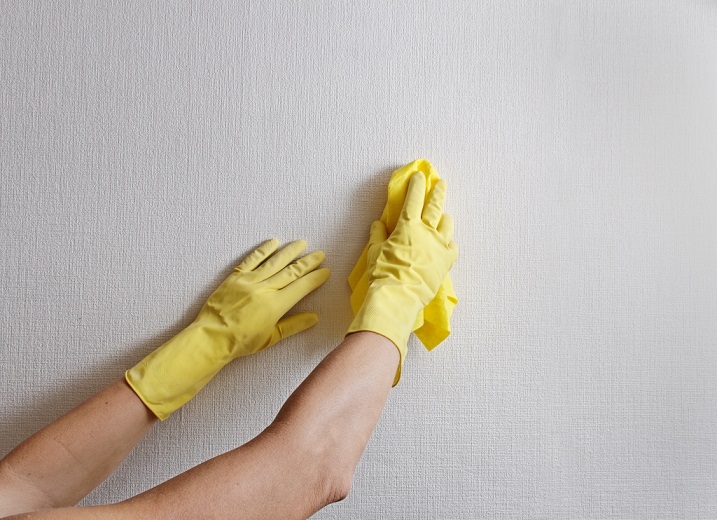
Prepare the Surface
If your fireplace is framed with tiles or masonry you wish to remove, you can do so with a brick hammer.
Since you are working indoors, you’ll also need to lay down a drop cloth to protect your flooring.
Step 3: Prepare the mortar
I highly recommend buying pre-mixed mortar for hassle free preparation. To prepare it for application, simply mix with water according to the instructions. Make sure the consistency is just right; not too dry and not too wet either.
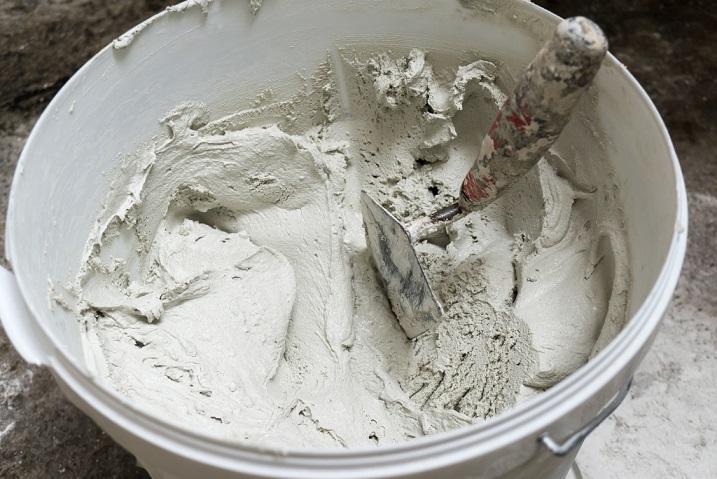
Prepare the Mortar
Set the mortar aside, but do not let it dry.
Step 4: Think of the layout
Before you get on with applying the stones, think of the layout first. This will reduce hassle in trimming the stones as much as possible. Once you’ve got that done in your head, you can now make sure that each stone is clean before application.
Step 5: Apply the stone to the wall
Stone application is pretty easy, which makes it a good DIY project for almost any homeowner.
Start applying the stones from the bottom. To apply the stone on the wall, simply scoop up a liberal amount of mortar and apply on the back of the stone. Make sure that when you press the stone to the wall, excess mortar will not squeeze out from the back excessively.
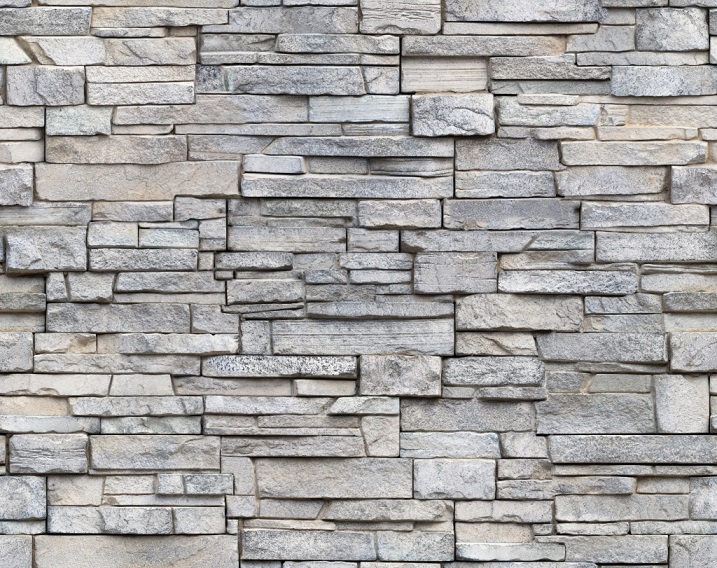
Apply the stone to the wall
Press the stone to the wall and hold it there for a couple of seconds. Then, you can start applying the next stone with about half an inch distance from the first stone (distance will depend upon your preference). Let the first row dry, cure, and settle on the wall for a few minutes before starting on the next row.
If you’re using heavier natural stones, it’s important to let the first row of stones from the bottom dry before applying the second row on top of it. This will prevent toppling over of the stones.
Step 6: Trim the stones if necessary
If you find yourself with a stone too big for the corner, you can trim it using a chipping hammer or mortar saw (whatever you prefer) before applying it to the corners.
Step 7: Apply grout
Once the stone veneer has dried and settled on the wall, and you don’t have any more corners to fill, you can now start applying grout in between the stones. This will prevent moisture, dirt, or dust from settling in between them.
To do that, prepare a grout bag filled with grout mixture. (If you don’t know how to prepare a grout bag, think icing bag!) Then, fill all the gaps in between stones with an appropriate amount of grout. Afterwards, you can tool the grout to your desired depth with a joint tool.
When the grout has dried completely, you can now apply a grout sealer to make the quality last long and prevent discoloration. Here is an article on the best grout sealers you can use for your stone veneer.
7 Easy Steps to Get a Stone Veneer Fireplace
Conclusion
And you’re done! It’s that easy, and if this article didn’t convince you, I don’t know what will. Applying a stone veneer is one of the easiest DIY projects you can do to spice up the living room, but masonry doesn’t just look good on the fireplace, it can your kitchen look divine, too!
I hope you liked this article as much as I liked writing it, and hope this gave you enough inspiration to take on the project. Feel free to leave us a comment below if you have any questions, and don’t forget to share with your friends. Thanks for reading!


Comments are closed.