DIY Bathroom Tile Replacement Made Easy
Replacing bathroom tiles may seem like a job for experienced professionals only. However, it’s actually simple enough for any homeowner to do by themselves with only a few tools. Here’s how you can do it.
1. You can opt to replace just one tile, or you can re-do the entire bathroom floor with just a little more effort.
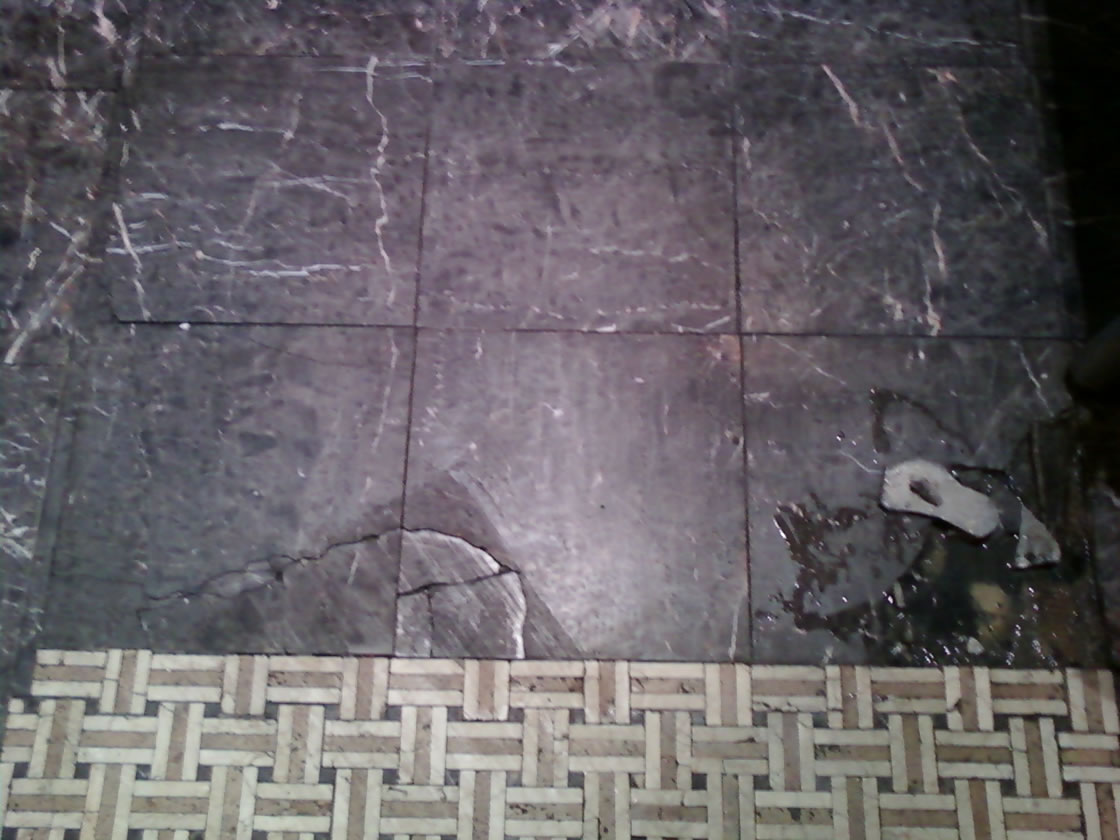
Old Tiles
2. Start by prying away the unwanted or damaged tiles of bathroom. If you only need to replace one, use caution. If you’re not careful, you’ll need to replace more than you bargained for.
3. If you want to completely remove every tile, then don’t hold back. To make things go faster, feel free to bring out the hammer, but make sure you wear safety goggles. Tile can shatter like glass. The last thing you want is a trip to the emergency room.
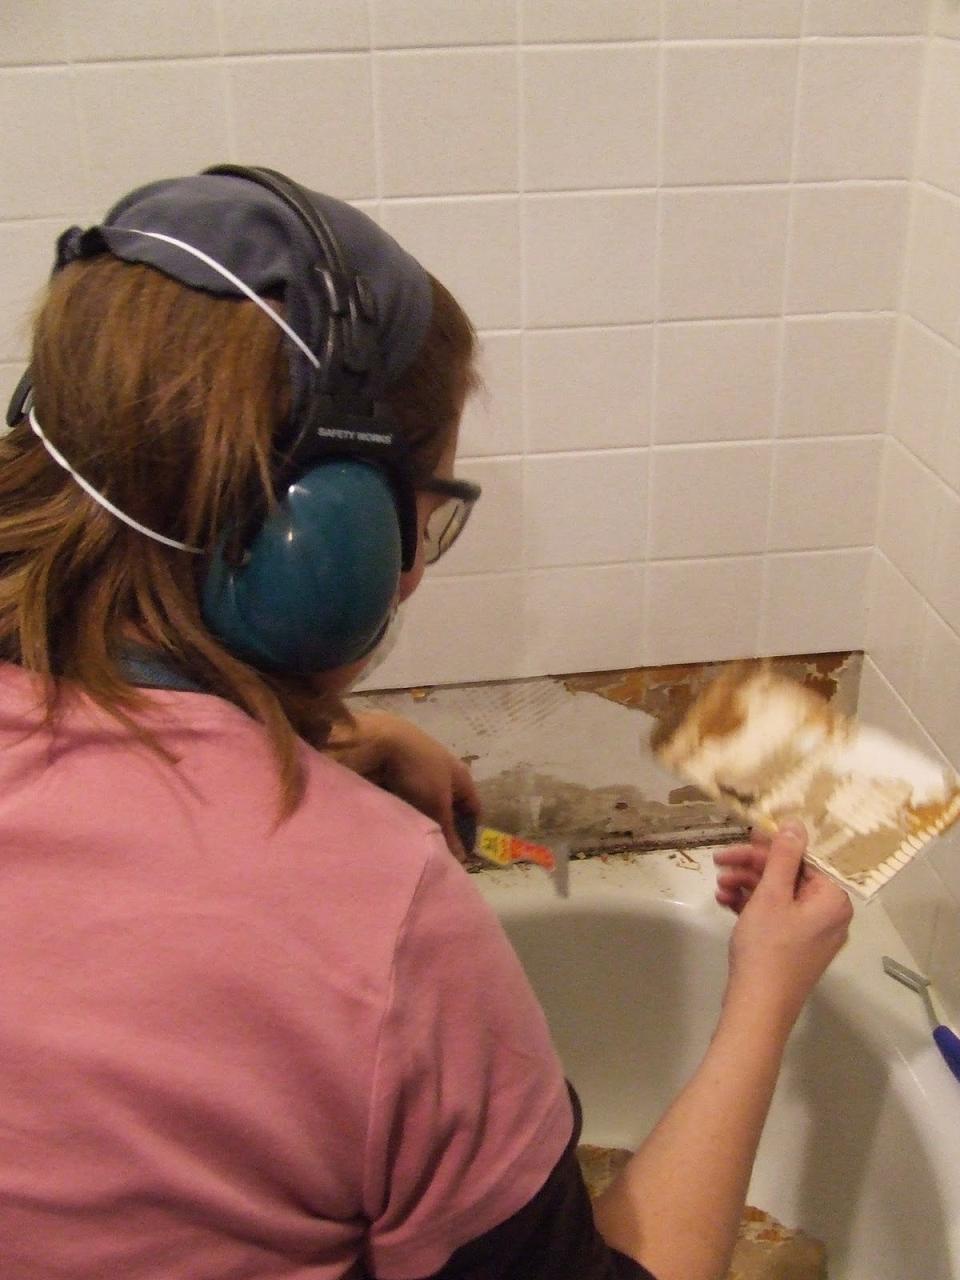
Repalcing Tiles
3. Use a putty knife or similar tool to remove the old layer of adhesive. Lumps are never a good thing when installing new tile. The surface should be flat, smooth and clean if you want the new tile to stick properly. Don’t slack off and think a little leftover adhesive won’t make a difference. A lumpy surface will make new tiles uneven and more susceptible to cracks and breaks.
4. Clean up the old, broken tile and vacuum the area thoroughly. Remember, cleanliness is essential.
5. If you’re only replacing one or two tiles, you can cut corners and squeeze some construction adhesive on their backs. Apply a little to the corners and make sure the back has a nice, even layer. Don’t over-do it.
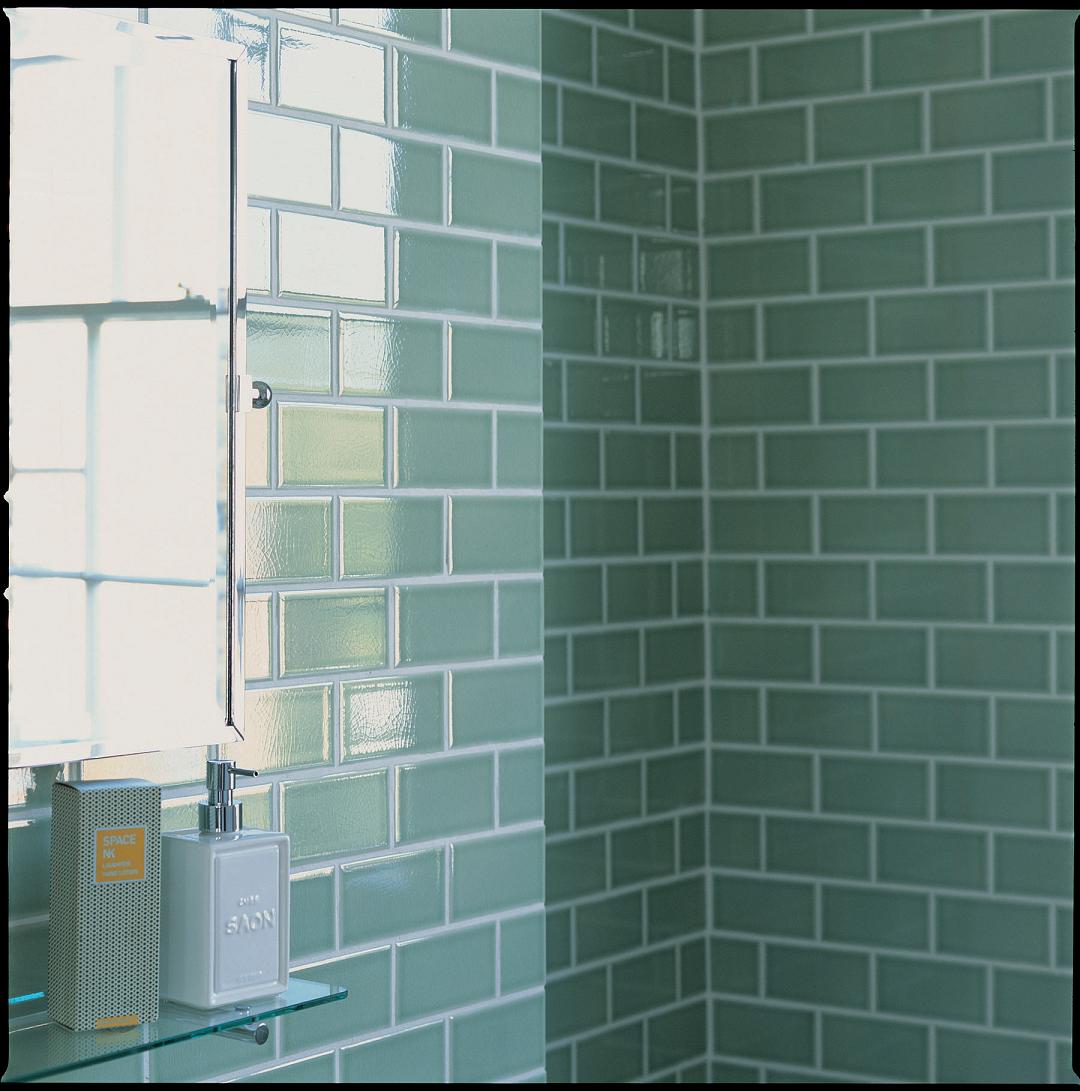
Beautiful Shiny Tiles
6. Visually align it with the other tiles.
7. Whip up a batch of grout that matches what’s already there and scoop it into a plastic bag. Snip off the bag’s corner and squeeze it into the gaps between the tiles just like you’re decorating a cake. Use your float to smash it into the grooves and ensure a good bond. Wet your finger and use it to create a smooth, even finish and to remove any excess.
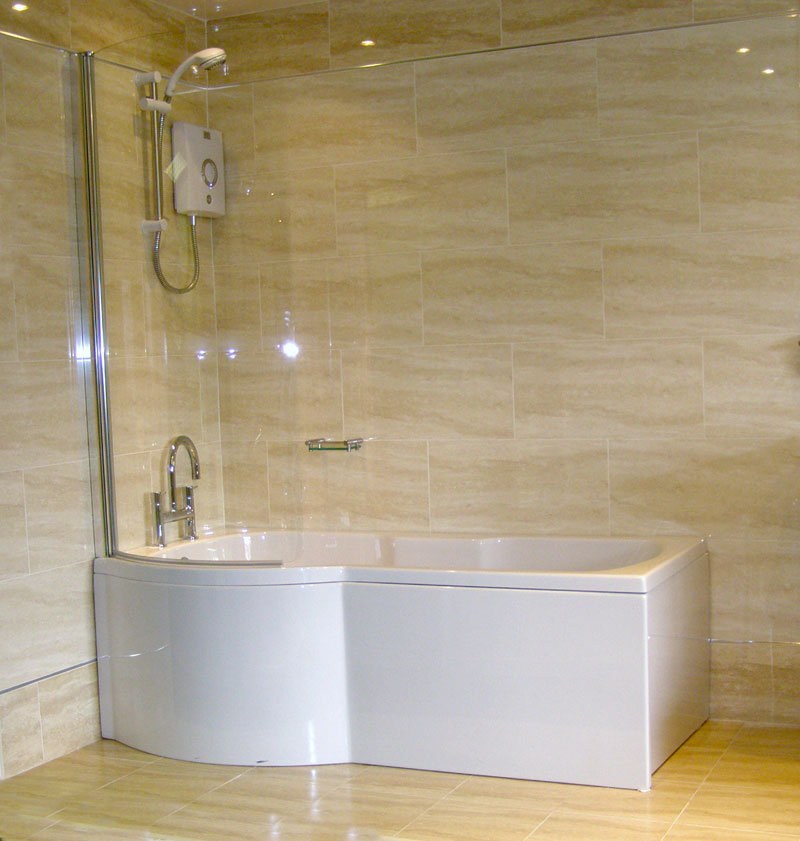
Simple Bathroom Tiles
8. If you want to replace the entire bathroom floor, scrape the surface clean. Next, measure the floor and find the middle.
9. Unfortunately, replacing the whole bathroom floor means removing the toilet, but it’s relatively simple. Remove the nuts, pull it up and set it aside. Remove the wax flange with a paint stirrer, putty knife or anything that will do the job.
10. Once you’ve found your floor center, find out how much tile you’ll need on each side. The cut pieces you install last should be flush with the wall.
11. If you don’t have a wet saw and you don’t want to spend the money on one, you’ll need to rent one from your local hardware store. If you’re lucky, you can borrow one from a friend or neighbor. There are also hand tools available for this job, but they’re not as quick. Cut several tiles at once to make things easier.
12. Prepare the thinset and let it sit for between five and 15 minutes so it sets up properly. You can also cheat and use a construction adhesive like liquid nails.
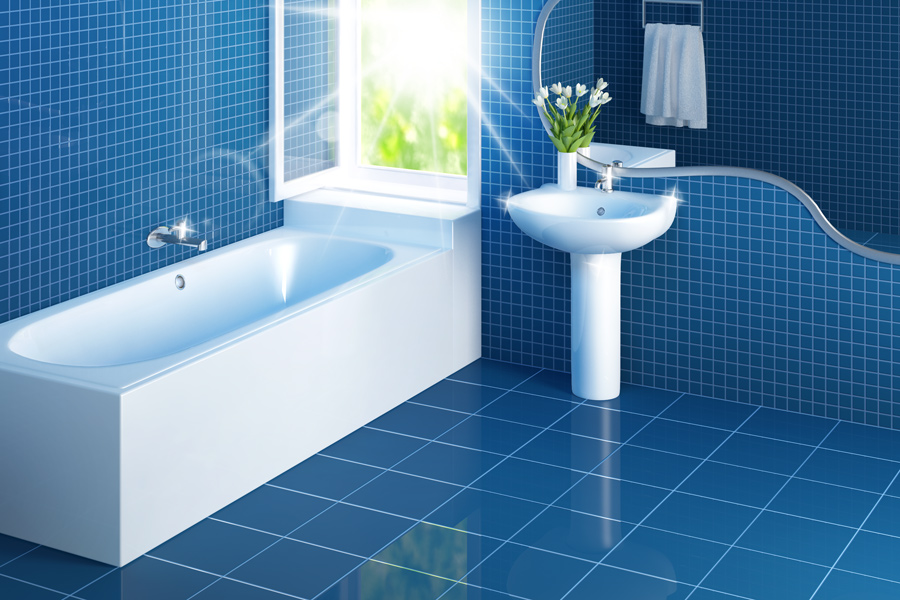
Blue Tiles Bathroom
13. Using your floor trowel, create even grooves for the tile to stick to. Utilize both your eyes and your tile spacers to make sure that you get nice, straight lines. Wipe up any excess adhesive as you work. Thinset is very hard to clean up once it dries completely.
13. Work your way from the interior of your bathroom out toward the door. Try to avoid walking on the floor for at least 24 hours or more.
15. For the next step, apply your grout the same way as explained above. Let it dry thoroughly for a minimum of 24 hours. When it’s completely dry, give it a coating of grout sealer with a disposable, general-purpose paint brush. Grout sealer can be purchased in a can and it is strongly recommended to use.
16. Install a new wax flange prior to reinstalling your toilet. It’s a good idea to ask a friend to help you with this part. It’s important that you set the toilet down directly over the bolts and flange. Apply a bead of bacteria-resistant caulk under the base. Sit on the john to make a good seal and then fasten it down with the bolts. Apply another bead of caulk around the base using the color that best matches your flooring.
17. Step back, wipe the sweat from your brow and enjoy your shiny new floor.


Comments are closed.