Step by Step guide to paint kitchen cabinets
If you’re a homeowner looking for great design ideas for your kitchen cabinets, you might want to know that the process demands a lot of patience. Painting cabinets on your own is not expensive, yet it’s vital to do things by the book if you want great results. The greatest advantage of DIY home decorations tips is that you can have fun. There’s nothing more entertaining than playing around with color and having a blast with your loved ones trying to decide on the right shade for your cabinets.
What do you want to improve?
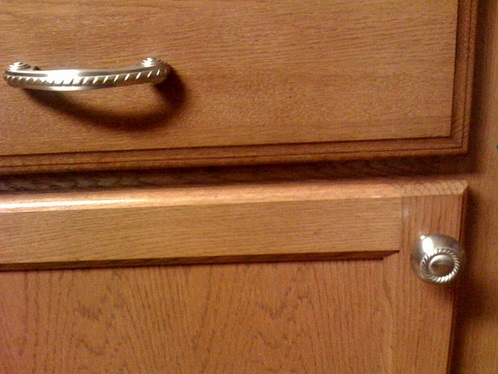
Analyze paint swatches and try to figure out what palette you like most; also, don’t forget to purchase new hardware before moving on to the next step. Old kitchen hardware like knobs for example, must definitely be replaced with newer models. Figure out whether your drawers and door blinds have different spacing from the current hardware before you start painting. After you’ve done that, start washing the kitchen cabinets with soap and water to remove spills and grease accumulated in time.
Painting Kitchen Cabinets
Make arrangements and purchase some wood filler
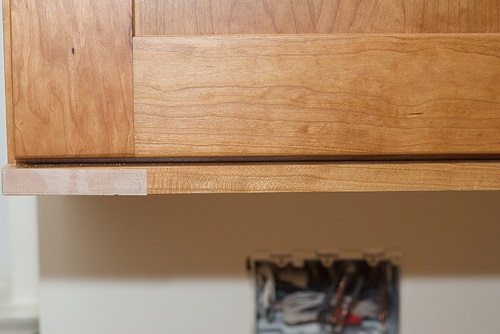
It doesn’t matter whether you replace your hinges, as they will still have to be removed and stored in a safe place along with their screws. It’s obvious that once you remove the hinges you will also have to remove the doors, so try to find a horizontal surface where you can place them in order to be painted. If you want to make sure that everything goes by the book, lay out a piece of plastic or fabric before placing the doors so that you can avoid paint stains. New hardware doesn’t always match existing holes in your drawers and doors, so you will need to purchase wood filler to seal unnecessary spaces.
Using primer & sanding
The process of sanding isn’t required unless your kitchen cabinets are very shiny. In this case, running a sander over your cabinets won’t do any harm. The purpose of this process is to rough everything up so that the paint will stick better. If you don’t know if your kitchen cabinets need sanding, analyze the surfaces. If they’re matte, similar to cutting boards they probably don’t need sanding. However, if they’re shiny and glossy like laminated paper, sanding becomes vital. Lead paint can cause harm during the sanding process, being one of the reasons why homeowners are advised to submit their kitchen cabinets to a lead test.
Kitchen cabinets are often affected by grease and stains, and these defects should be eliminated using an oil-based primer. A coat of primer is usually enough, even though you can still see the color of the wood underneath. The main purpose of primers is to make cabinets sticky and ready for painting.
Start painting
The paint you’re going to apply should have a semi-gloss finish otherwise it won’t be easy to wipe. Two coats of paint should be enough, as long as you wait a couple of hours after applying the primer. As far as painting tools are concerned, a high quality polyester or wool roller is the best choice. You can also opt for mini foam rollers, as they’re easier to control. The areas where the roller can’t reach should be handled with a small painting brush that will make sure the process is uniform.
Process of Painting Kitchen Cabinets
Be patient
Once you’ve applied the two layers of paint, all you have to do is wait. Experts advise people to wait around for three days before starting to re-use their drawers and doors because the process of re-hanging demands pressing, drilling and holding, thus affecting the areas that aren’t 100% dry. If you want to make sure that everything goes as planned wait 5 days before starting to rehang the doors and add new hardware.
As you can see, painting kitchen cabinets is not rocket science. Prior to getting started make sure that all your tools are in place. Recap all steps and don’t forget to be patient. The process might seem a bit daunting, but the end result will definitely blow your mind. We must admit that every kitchen needs a makeover every once in a while. DIY techniques for painting and restoring are an excellent means of doing things your way. Put on your painting gloves and get started!


Comments are closed.